Wheel and Tyre care

This month’s technical brief is about wheels and tyres. What can go wrong and how to deal with it when it does.
As usual this is written to hopefully help absolute beginners while also maybe having some interesting points to consider for the more advance and experienced cyclists. So if you are one of the experienced riders be patient and there may be something here for you too.
Having a reliable set of wheels and tyres is essential for a trouble free sportive and a bit of care and attention before the event can go a long way to making the day far easier. Preparation before the event starts with a good check of your wheels and tyres paying attention to the following:
- Do your wheels spin freely when attached to your bike? Any unusual noises or are they misaligned and rubbing on the brake pads? Any noises from the bearings and its best to get them looked at by a proper mechanic at your local bike shop.
- Are there any obvious sings of damage to the wheel rim or spokes? (give the spokes all a gentle squeeze in pairs and feel if any are soft or feel loose. If so get the wheel seen to at a local shop)
- Are the tyres in good condition? Any signs of cracks in the sidewalls or cuts on the crown of the tyre and you really should consider replacing the tyres. Once tyres start to cut or get thin punctures are almost a given and could spoil your day.
- Any signs of deformities in the tyre? Eggs? Bulges etc.? If so get them changed.
- Another gotcha is to check the tyres are on the right way around. A lot of tyres now have directional tread patterns so if they are not on right you will have to get that sorted. If it rains on the day you want all the grip the designer intended to give you.
This is also a god check list to run through quickly after your bike has been in the boot of your car or in the van on the way to an event.
All of the above checks will hopefully go well and your wheels and tyres will be fine but its worth checking all the same. If you do however come across any issues get some advice and play safe if there is any doubt at all. Even if you have issues on the day there will be plenty of people about who will be more than willing to help.
Removing wheels, tyres and tubes.
If the checks have turned up any problems you will inevitably have to remove the tyre and inner tube from the wheel and know how to refit them when any issues are resolved. This also goes for punctures on the day or in your training rides.
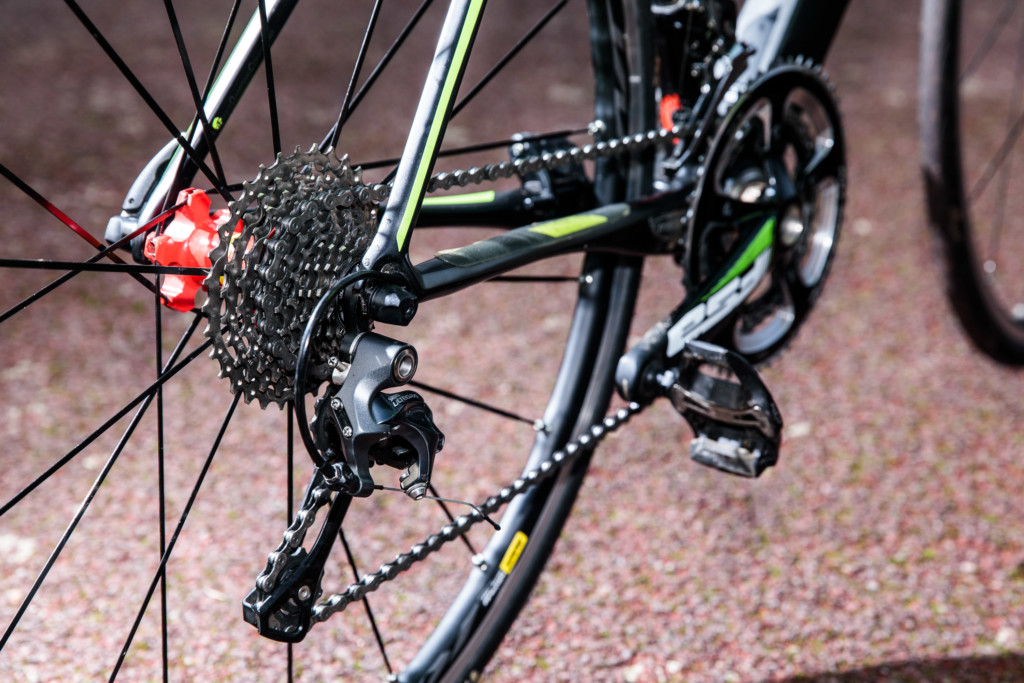
To remove a tyre and tube you first have to remove the wheel from the frame. The front wheel is relatively easy but the back wheel can cause some trouble due to the rear derailleur and chain getting in the way.
The first step is to use the cam on the brake callipers and back the break cable tension off. This will be on the RH side of your brake mechanisms and looks a bit like a tea drop lever. (On Campagnolo brakes pull the brake levers in hard and push the metal stud just behind the lever across to release the cable tension as they have no cams on the brakes themselves). This will allow clearance for your wheel to come out once you undo the axle.
For the front wheel undo the quick release axle and the wheel should fall out very easily. Before you try to take the back wheel out it is wise to take as much tension out of the chain as you can and this is done by having the chain on the smallest ring at the front and smallest at the back too. If you then undo the Quick release axle the wheel should come away much easier. If it does put up resistance and gets stuck on the chain use one hand to ease the derailleur backwards and out of the way, you may wish to wear gloves for this or risk getting covered in chain oil and dirt. (the video doesn’t show this bit but its not too difficult)
Changing a tyre or tube: How to Change a Tyre
Top tips when changing a tyre or tube not covered in the video:
- Take a pair of surgical gloves in your pocket for your raining rides. Saves getting covered in muck and oil if you do have to change a tube.
- Don’t rush, posh aero dynamic spokes are very good at removing skin from your knuckles so control is key when using levers to tease the tyre away from the rim.
- Do not use metal tyre levers on Carbon wheels (be very careful using them on Alloy wheels if you must)
- If you have trouble getting the last bit of the tyre back over the rim make sure the side of the tyre you have fitted first is seated right in the deepest part of the wheel groove. You’d be surprised how much difference this makes and saves a lot of swearing and sweating too!
- Always check the inside of your tyre when you have to change a tube for a puncture. Sometimes the offending item may be invisible from the outside but will cause another puncture the minute you pump your wheel up again.
Pumping the Wheel back up!
You now have a fixed wheel with a new tyre and tube and want to get it back up to pressure. There a few options here but all start with knowing what pressure the tyre needs to be at. All tyres have the pressure ranges printed / embossed on the sidewalls so hunt tat down first. Once you have tat you can use a track pump (stirrup pump) home use only really, a small pocket hand pump, or pressurized cylinders and filling valve. If you take cylinders make sure you carry enough and always 1 per spare tube carried as a minimum.
Not many small pumps or gas heads have pressure gauges so you will need to employ some educated guess work here. Start practising now, with the wheels pumped up using a gauge, to give you a feel for what the correct pressure feels like. Always best to play safe and under inflate rather than explode the brand new tube you’ve just fitted!
For refitting the Wheels follow the info on the videos but in essence it really is just a case of reversing the removals. The rear wheel is again the slightly more difficult but with the chain as loose as it can be it shouldn’t give you too many issues.
The most important thing is to start JETRide confident you can change a tyre or tube. This may mean having a few practice goes at home but it will pay dividends if you do get any issues on the day. Remember, practice makes permanent !


